Timeout configuration
You can configure your web SDK to time out after a specified time.
This is useful for scenarios where a user cannot complete a step for whatever reason: maybe the Scan ID capability cannot recognize a document, or a document's barcode cannot be scanned due to poor lighting conditions, or another reason entirely.
You can do this by using two props: onError and scanTimeout.
Depending on whether you're running in classic mode or device-to-device mode, you'll need to configure your SDK differently.
The timeout applies only to the interactive document scanning steps:
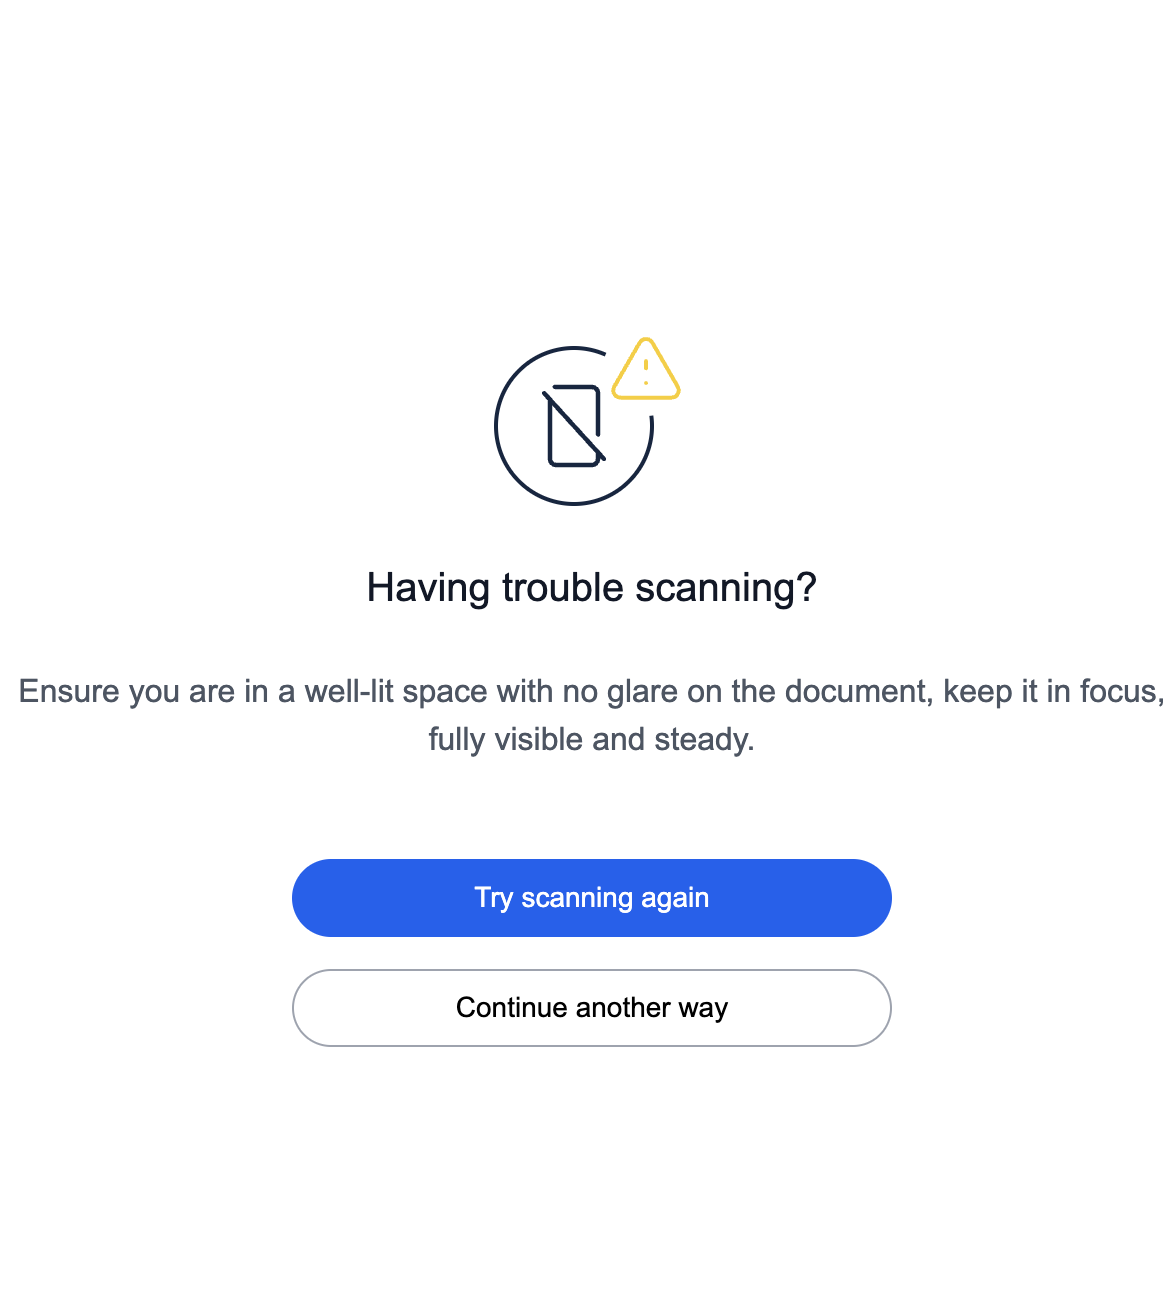
Scan timeout
The scanTimeout prop takes in a value in milliseconds and presents a timeout screen when the configured value is reached:
The timeout counter starts as soon as the camera is activated (even before users press Start on the modal).
The timeout works per-step. So, starting from the camera mount during a Scan ID or Scan & Verify ID functionality. This means that you won't hit a timeout if you never start any scan.
Error callback
When the user presses Continue another way (in classic mode), the onError callback is triggered and your logic for what should happen then—activates.
The callback returns an object which contains diagnostic information:
- which capability was used
- what was the transaction ID
- what was the type of the error (currently only
ERROR_SCAN_TIMEOUTis returned)
Configuration for classic mode
When you use the SDK in classic mode, configure the timeout in the following way:
{
  mode: "classic",
  scanTimeout: "60000",
  onError: () => {
    window.location.assign('/');
  }
  // rest of configuration here
}
Or, if you want to be explicit that it should expect the ERROR_SCAN_TIMEOUT value:
onError: (errorData) => {
  if (errorData?.errorType === 'ERROR_SCAN_TIMEOUT") {
    window.location.assign('/');
  }
}
When the onError callback is defined, in classic mode, it has to be accompanied with the scanTimeout configuration as well.
Configuration for device-to-device mode
In device-to-device mode, you don't need to set the onError prop at all.
You can set the scanTimeout value, and in case that the value is reached, the user is redirected back to the primary app, where the onError callback is activated.
{
  mode: "d2d",
  scanTimeout: "60000",
  // rest of configuration here
}
Possible scenarios
Here are some possible combinations between the primary and secondary (D2D) apps. We describe the behavior of the system based on different configurations.
- Neither
scanTimeoutnoronErrorare configured on any app:- Nothing happens on both apps.
- Only
scanTimeoutis configured, and only on the primary app:- Nothing happens on both apps.
- Both
scanTimeoutandonErrorare configured only on the primary app:- When the camera UI is shown,
scanTimeoutstarts counting. - When it hits the limit, the timeout error UI is shown with options Try Again and Try Another way.
- When Try Another Way is selected, it triggers the
onErrorcallback. - Nothing happens on the secondary app.
- When the camera UI is shown,
- Only
onErroris configured on the primary app, onlyscanTimeoutis configured on the secondary app:- When the user scans a document on the secondary app, a timer starts counting.
- When the limit is reached, the user is presented with the timeout error screen on the secondary app with the options Try Scanning Again and Switch to Desktop and continue.
- When user selects the "switch to desktop" option, the primary device receives this event, switches the user back to the primary app and executes the
onErrorcallback on the primary device.